Photos you have taken can be directly uploaded to social networking services such as Twitter and Facebook from the app. A connection needs to be set between the camera and smartphone to upload the photos saved in the camera. (Connecting the Camera to a Smartphone)
-
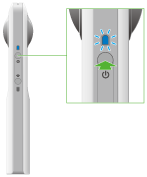
Press the power button on the camera to turn the power on

-
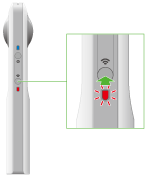
Press the wireless button to turn the wireless function on

- The wireless lamp lights in red.
- This does not need to be done if the wireless lamp lights in red when the power is turned on.
- Select the SSID of the camera in the Wi-Fi settings of the smartphone
-
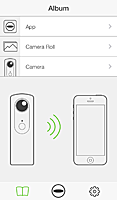
Start the smartphone application
- The wireless lamp lights in blue.
-
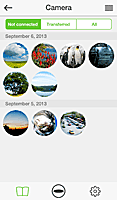
Select [App] or [Camera]

- [App]: Photos transferred to the smartphone can be shared.
- [Camera]: Photos saved in the internal memory of the camera can be shared.
-
Tap the photo to be posted

- The selected photo is displayed in the Viewer.
-
Tap the screen to display the buttons, and then tap [Share].

- The posting screen is displayed.
-
Enter the text to be posted

- The posting screen is displayed.
- Select the social networking service to post to
-
Tap [Done]
- If you have not registered your social networking service account, a settings screen is displayed. The photo is uploaded after the settings are done.
Caution
- A 3G or LTE line is used for sharing in step 10 even if the camera is connected to a smartphone via Wi-Fi. This operation therefore needs to be performed in a place where this communication is possible. If sharing via Wi-Fi, change the Wi-Fi connection to a public wireless LAN access point.
- When using the Android application to connect your smartphone to the camera using Wi-Fi, you need to switch network connections in order to post photos. Therefore, when you want to use the camera by connecting it to the smartphone after posting your photos, you need to reconnect them.
Note
- The photo is uploaded to theta360.com, the dedicated display site, and a link to the uploaded photo is posted to the social networking service.